 WordPress has been updated to version 3.5 having this codename 'Elvin' in honor of Elvin Jones (drummer). This new version comes with a new media manager and Retina support. Users of WordPress will have a new experience when uploading images and creating galleries thanks to the new image uploader.
WordPress 3.5 comes also with various tweaks and a new default theme (Twenty Twelve). You can find full features here. In this tutorial, we will see how to install this blogging and CMS platform under the following Ubuntu/Linux Mint distributions:
- Ubuntu 12.10/12.04/11.10 or older
- Linux Mint 14/13/12 or older
- Any other Ubuntu-based System
1. Requirements
To be able to install WordPress 3.5 in Ubuntu/Linux Mint, we need to install a web server (Apache, PHP, MySQL, etc.). If you are following my previous tutorials, you will notice that I prefer to use the LAMP server, you can find here detailed instructions for installing it.
2. Creating A MySQL Database For WordPress
For GUI mode, I recommend that you use phpMyAdmin to create a MySQL database and user for WordPress. For CLI mode, you can run this sequence of commands (change text in red to reflect your own database configuration):
## Connect to MySQL Server & Enter Password (if any or leave blank)##
mysql -u root -p
Enter password:

## Creating New User for WordPress Database ##
CREATE USER wordpress@localhost IDENTIFIED BY "12345";

## Create New Database ##
create database wordpress;

## Grant Privileges to Database ##
GRANT ALL ON wordpress.* TO wordpress@localhost;

## FLUSH privileges ##
FLUSH PRIVILEGES;

## Exit ##
exit
The commands above will create these details:
- Hostname: localhost
- Database: wordpress
- Database User: wordpress
- Database User Password: 12345
3. WordPress 3.5 Installation
Via the terminal, download and move the WordPress folder to /var/www/ with these commands:
cd /tmp
wget -c http://wordpress.org/latest.zip
sudo unzip -q latest.zip -d /var/www/
sudo chmod 777 -R /var/www/wordpress
sudo /etc/init.d/apache2 restart
Open now this link to start the web-based installation:
http://localhost/wordpress
NOTE: You can replace localhost with your server IP address.
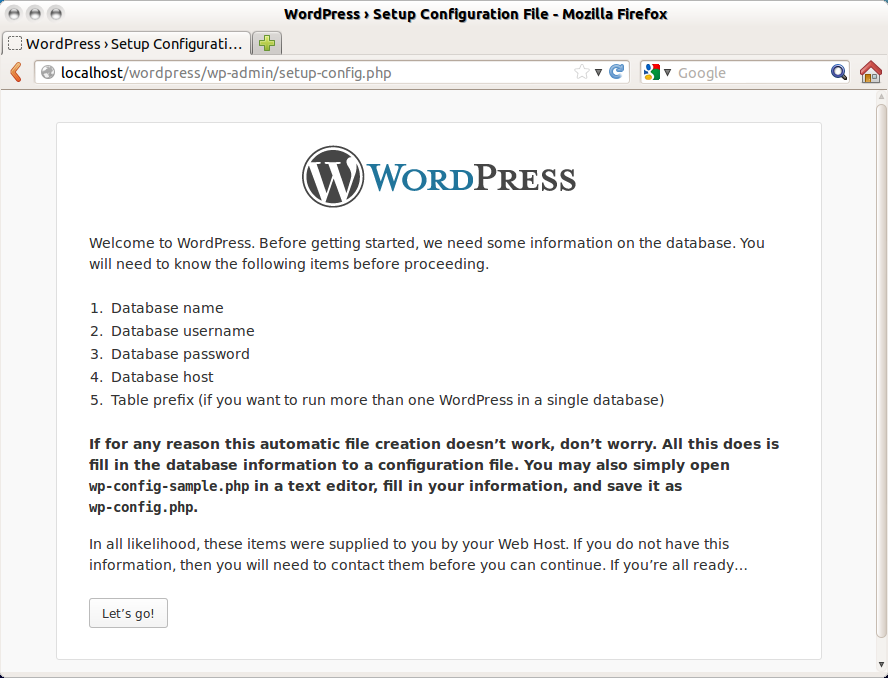
In the first page, click Create a Configuration File:

Then follow setup instructions:


That’s it!
Enjoy!
Enjoy!


